Making Changes & Updates to "Articles"
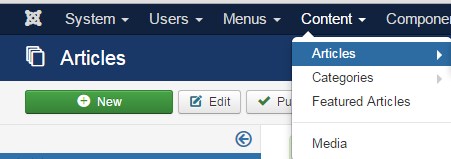
You can make changes to the wording and text on your website pages by clicking on the CONTENT button near the top of your control panel and then clicking the word ARTICLES.
Once you are at the ARTICLE MANAGER you will be able to choose what article you want to change by choosing and clicking that page from the list.
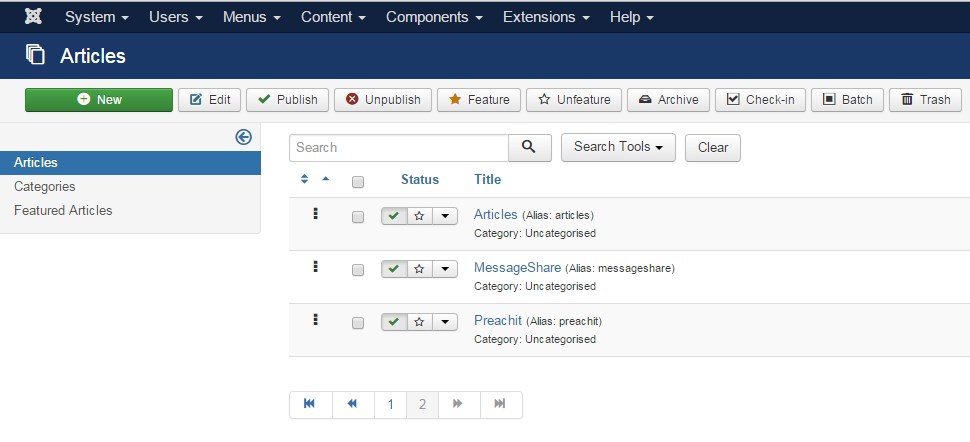
Once you have clicked on the correct page, you can make text changes much like you would make a change on a Microsoft Word Document.
Once your changes are completed, make sure to click on the green SAVE or SAVE AND CLOSE button at the upper left. If you click Save & Close, you will be taken back to the article manager. If you click SAVE you will be able to save your work and continue working on that page.
ADDING AN IMAGE TO YOUR ARTICLE

You can add pictures to that page by locating the icon labeled with the word "IMAGE" in your formatting bar above the word processing box.
Once you click on the image button, your website directory will display. From this directory box, you will be able to upload a new image by scrolling down to the "Upload File" area, and clicking "Choose File."
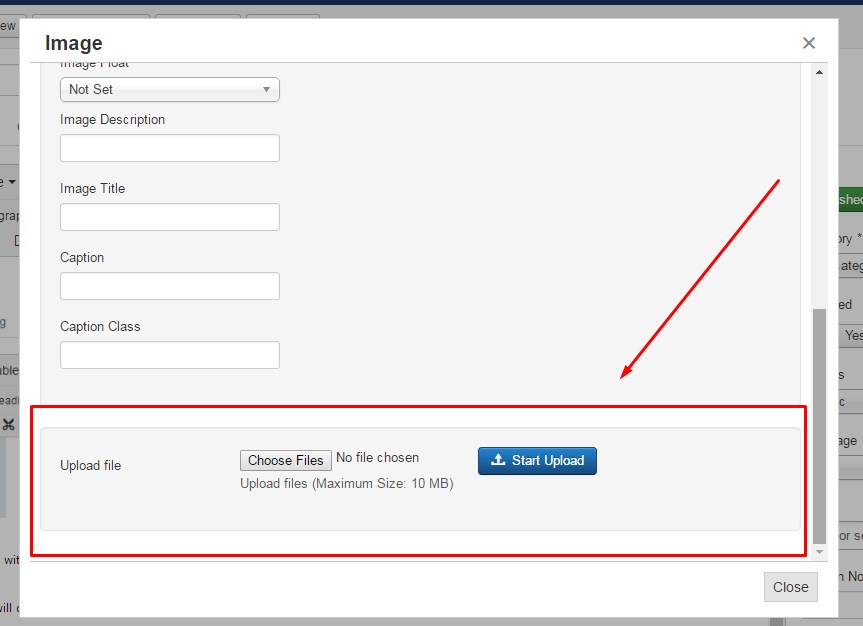
After you have chosen the correct image file from your computer, click START UPLOAD.
Once the picture has uploaded (you will see a thumbnail image of that picture with the other pictures above) choose the correct picture by clicking on the file name and then click on INSERT in the upper right hand corner of that directory box.
Once the picture is inserted onto your page you can change the size of that picture by clicking once to highlight the entire image, and clicking & dragging the image corners.
Once your changes are completed, make sure to click on the green SAVE or SAVE AND CLOSE button at the upper left, and flush your CDN cache to ensure your changes are showing worldwide.
READ MORE: Why aren't my changes showing immediately after I have saved them in the back-end?