Editing or Adding Forms to Your Website
This is a two step process.
STEP ONE: CREATE THE FORM
Once logged in to the back-end of your site:
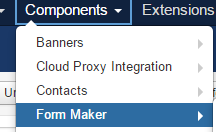
Click “Components”
Click “Form Maker”
Click “Forms”
Click the green “New” button in the upper left hand corner.
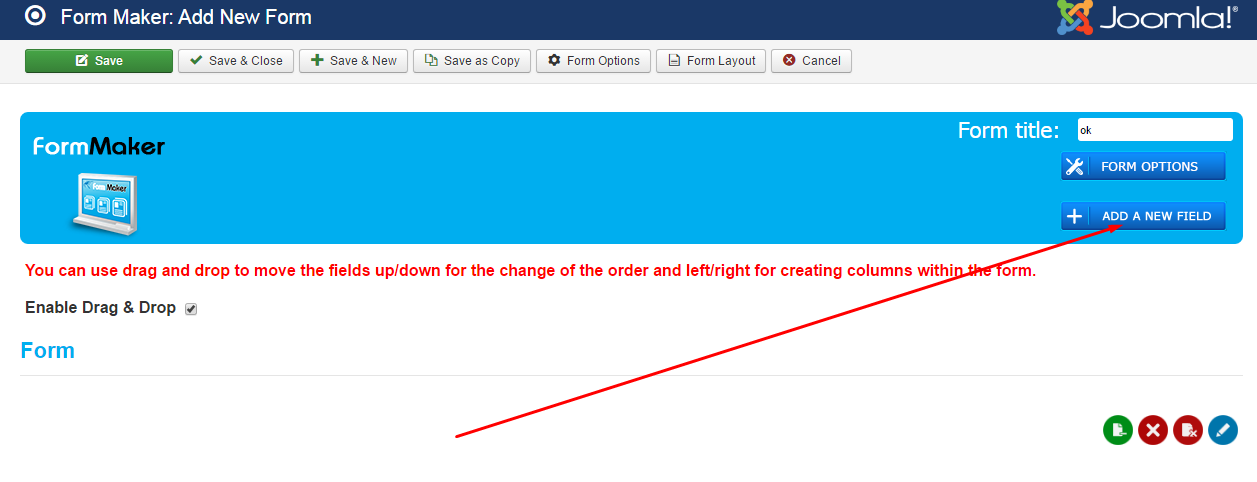
Fill in the Form Title

Now click the “Form Settings” box
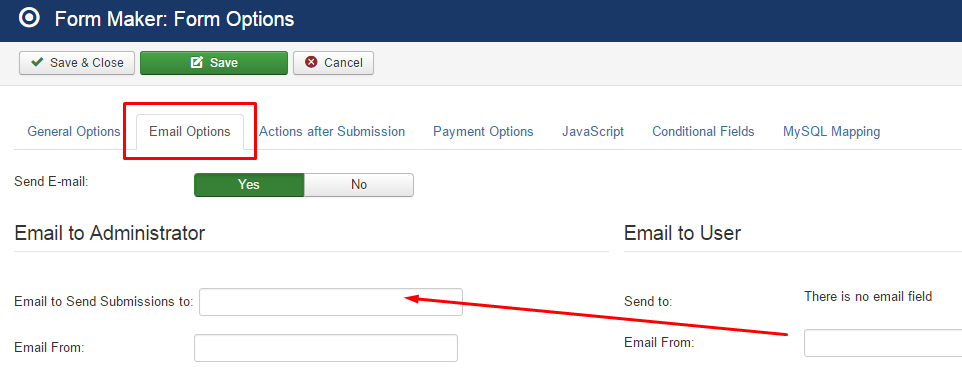
Click on the “Form Options” button to adjust the e-mail settings.
Click on the tab titled “Email Options”
Input the e-mail address you would like this form submissions sent to in the box labeled “Email to Send Submissions to”
Click Save and Close.
To begin adding sections to the form, Click on “Add A New Field” button
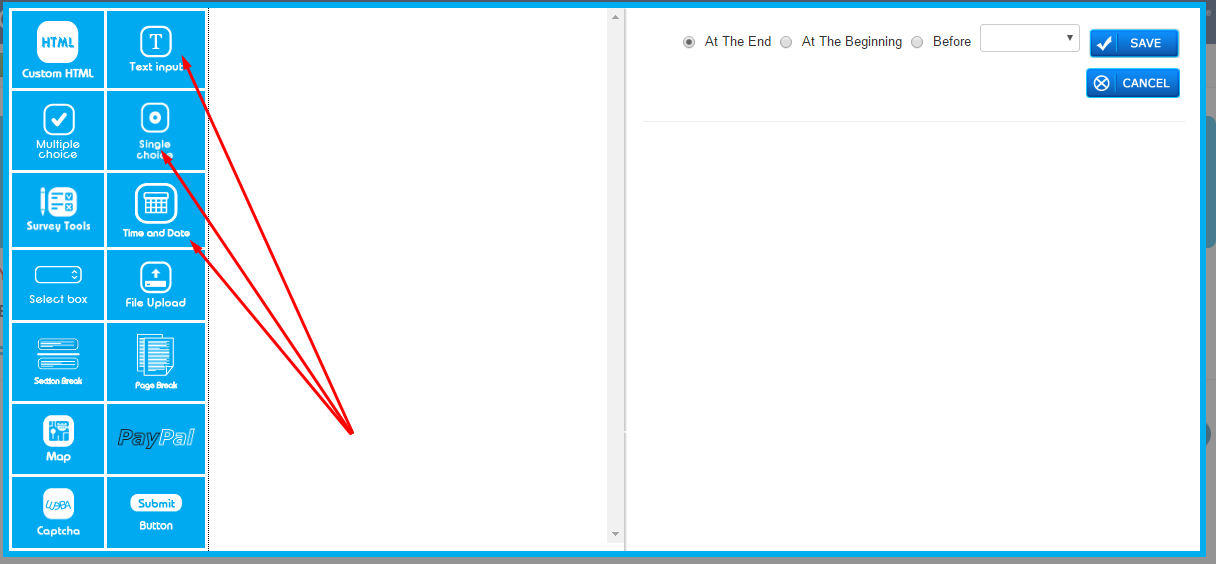
Select the field from the left hand menu that you would like to add on the form
Fill out the required information and be sure to click “SAVE” after each addition.
Once the field has been added, you can drag and drop the fields up/down or left/right.
Be sure you add a "Submit" button when you are finished adding fields!
Once your form has all desired fields, click “save and close”
STEP TWO: PLACE IT ON THE MENU
Click on “Menus”
Click on “Main Menu”
Click the green “New” button in the upper left hand corner
Input the “Menu Title”
Select “Menu Item Type” as “Form Maker”
Then, select “Form”
Select the form to display by clicking the blue words “Select/Change”
Choose your form by it's title
Click "Save and Close"