Add a New Form
|
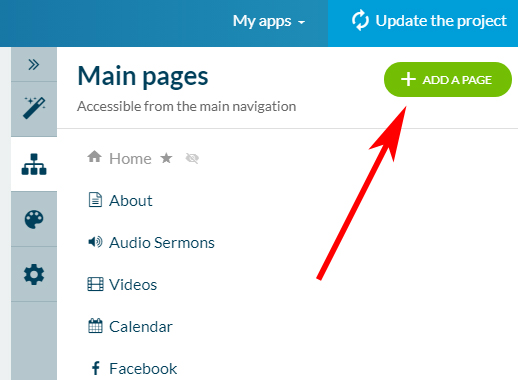
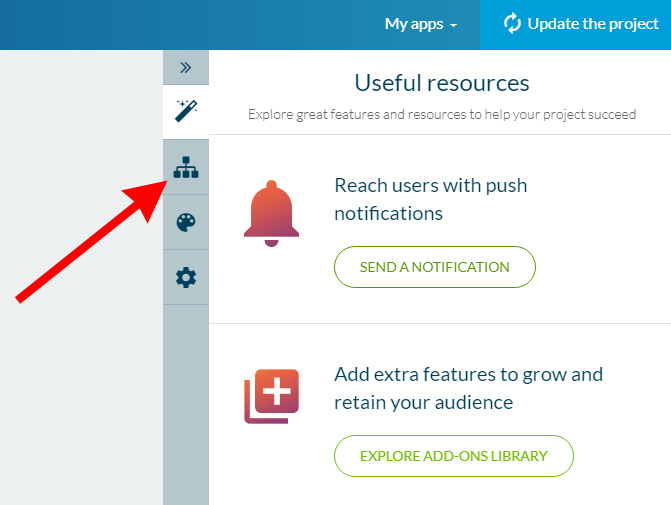
Once logged in to the backend of your mobile app, click the "Content" icon from the right hand menu.
Now you will see the sections of your app displaying to the right |
 |
|
|
Add a brand new section by clicking the green circle featuring the white "plus" sign. |
|
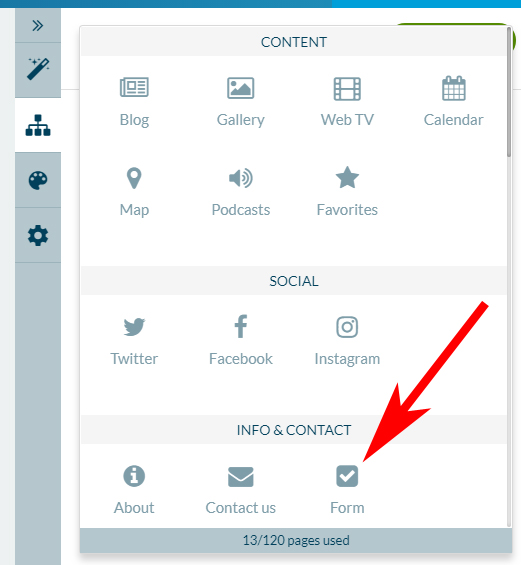
From the options that appear, select "Form" |
|
|
|
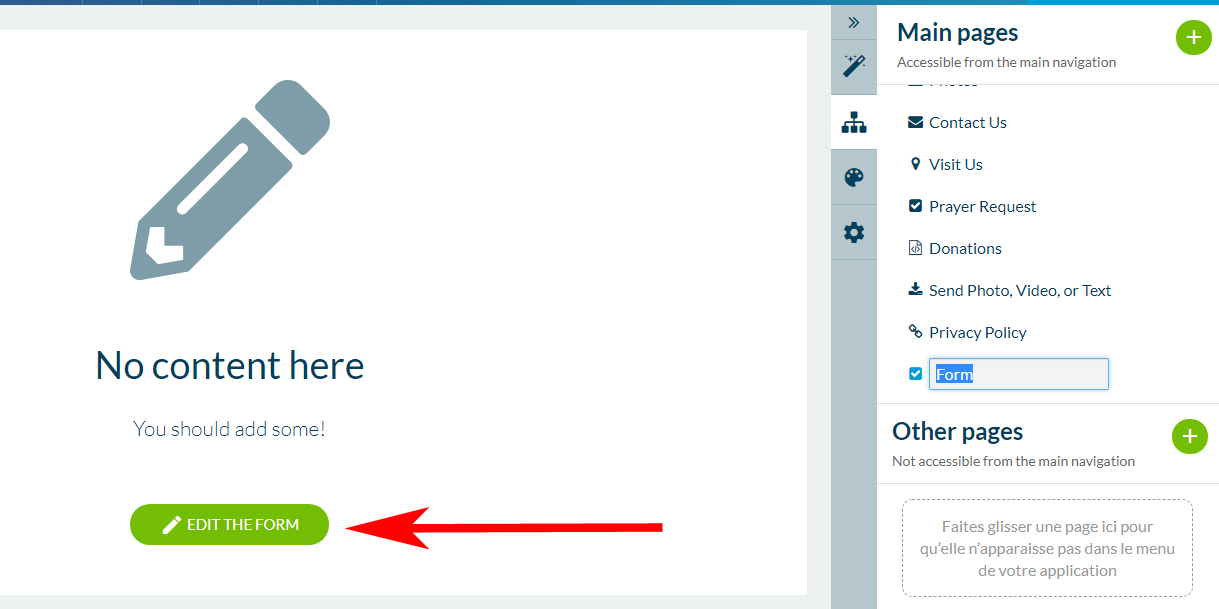
On the next screen, click the green "EDIT THE FORM" button with the pencil icon on it. This will allow you to add custom fields to the form. |
|
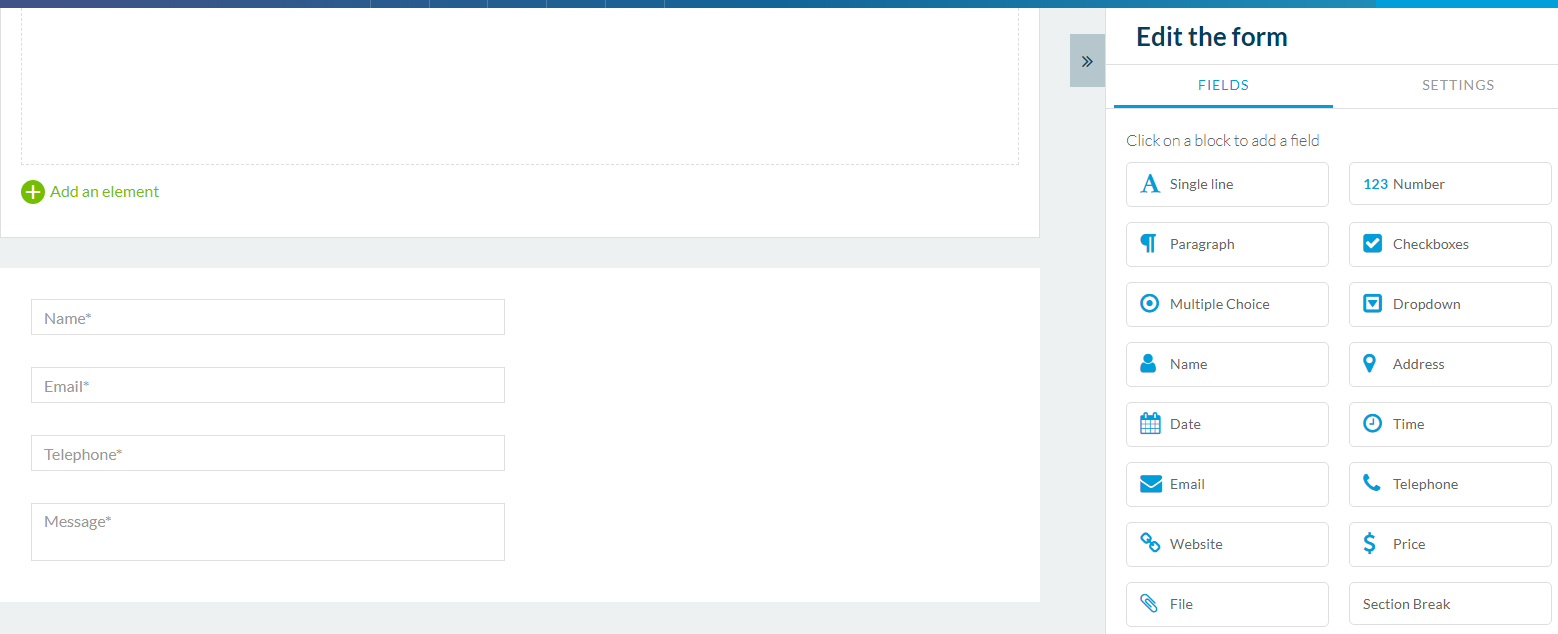
The next screen is where you will begin adding fields to the form. We typically recommend beginning with NAME, EMAIL, PHONE, and a PARAGRAPH section that will allow users to type a message. There are several other options you can add if you have more specific needs for your form, including dropdowns, multiple choice questions and checkboxes. Also note that each field you add has a toggle you can use to make it either required or optional. |
|
|
|
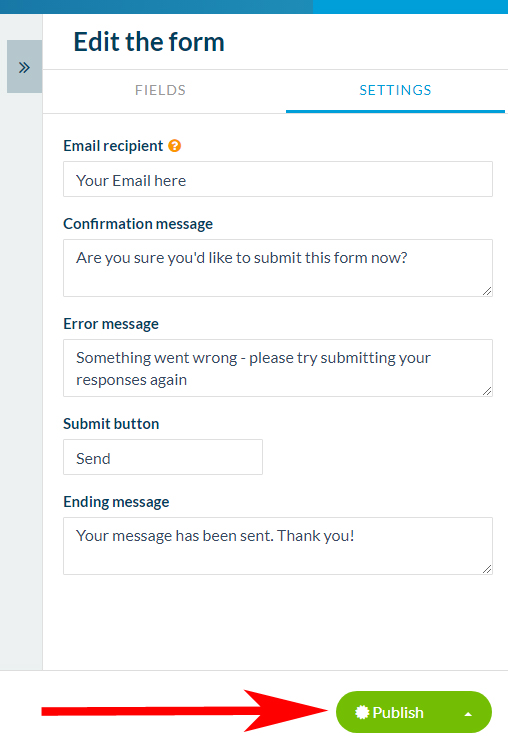
Once you have built your form by adding your desired form fields, click "SETTINGS" in the upper right corner. Here you will set the email address, or addresses, you would like to receive the submission information from your users. The submissions will also store in the backend of the mobile application inside this section, similar to an email inbox, for individual review or the option to export all responses to your computer as a spreadsheet. Confirmation Message: This is a pop up that displays once a user presses "submit" with options for them to press "Yes" or "No." We suggest your confirmation message be something similar to "Send information?" Error Message: This is text users will see if their submission does not go through. Ending Message: A message that will display for the user after a successful submission. Once you have finished building your form and set your settings, click the green "Publish" button in the lower right hand corner. |