Create A Notification Archive Inside Your Progressive Web App
Push notifications are a marketing tool designed to draw users attention and traffic into your web app. You may wish to have these notifications stored and accessible by users even after they have swiped the notification and opened the app.
This is a two step process.
STEP ONE: Create A New Article Section STEP TWO: Send Your Push Notification
|
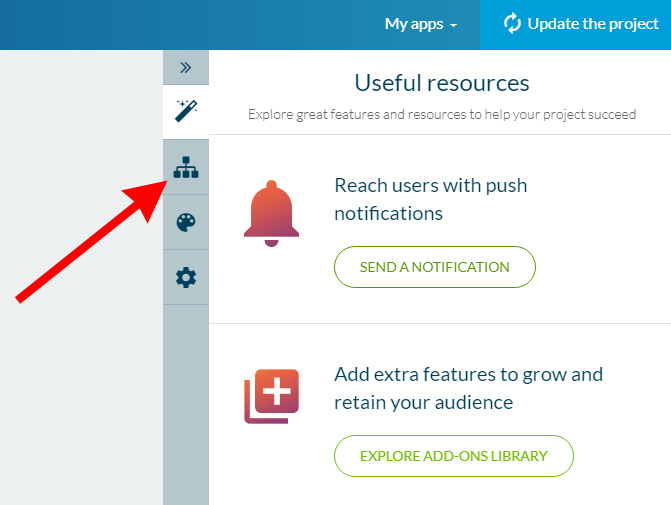
Click the "Content" icon from the right hand menu.
Now you will see the sections of your app displaying to the right |
 |
|
|
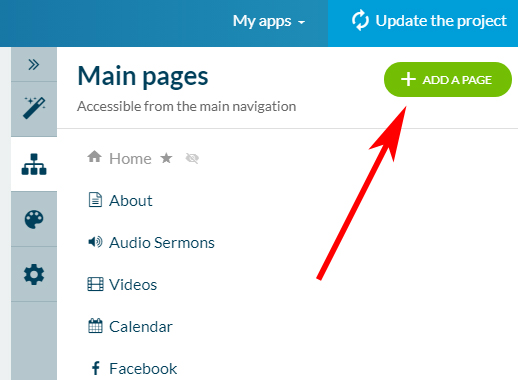
Add a brand new section by clicking the green "+ ADD A PAGE" button in the upper right corner of the screen. |
|
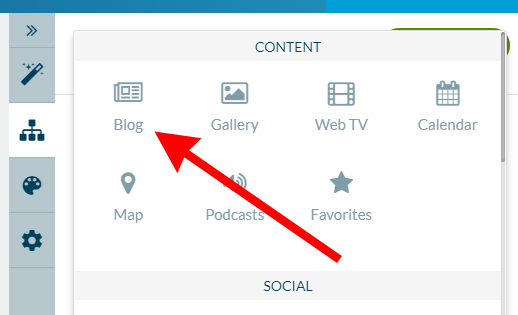
Select which type of new section you would like to add to your mobile application. For this archive, select the "BLOG" option from the small menu that pops up.
|
|
|
|
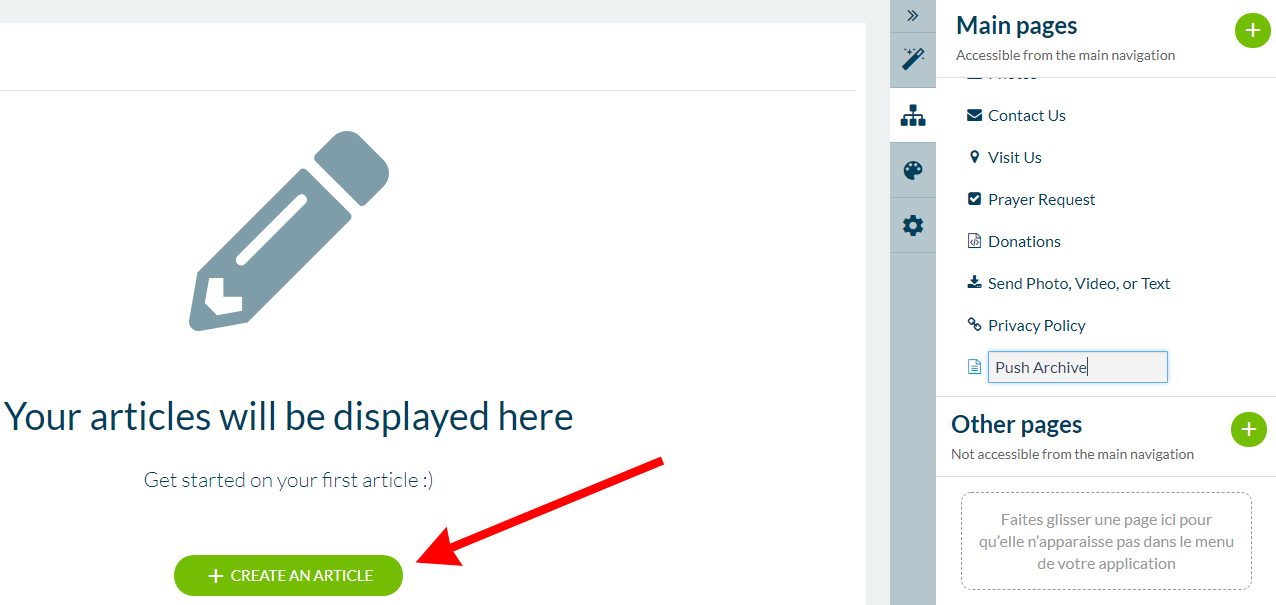
Next you will title your section. You can title this whatever you would like users to see on your main menu.
After titling the section, click the green "CREATE AN ARTICLE" button. |
|
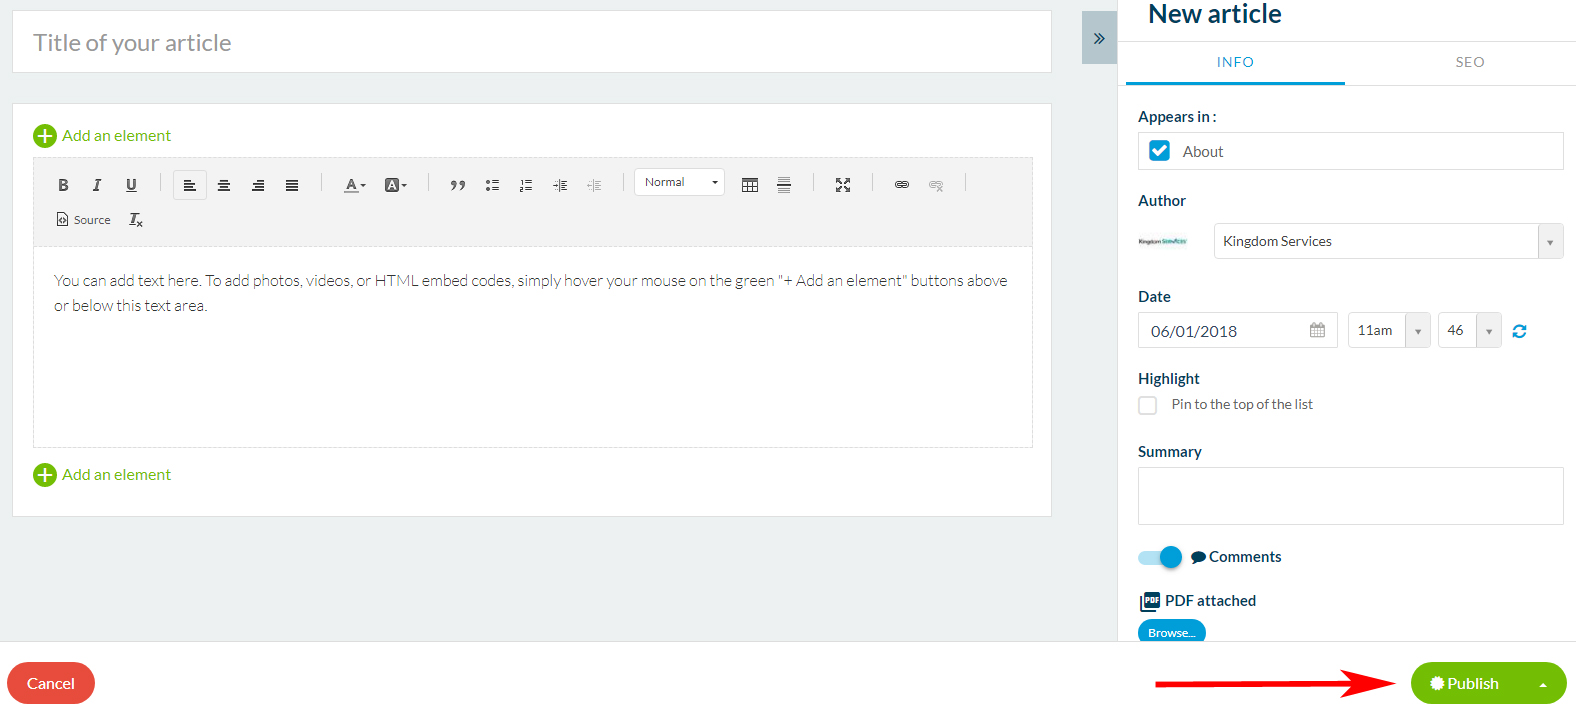
From here, you will add your first entry into your new section. You will provide a title for this article, content, and click the green "PUBLISH" button in the lower right. You must COPY and PASTE this information if you'd like to use this as a push notification. It will not automatically send a push notification. You are inputting the content twice; you will type it into the article section and then again into the push notification. |
|
You have now added a new section and placed one article. You will now COPY the information you've written as content, and follow steps to SEND A PUSH NOTIFICATION to send your push notification as usual
|
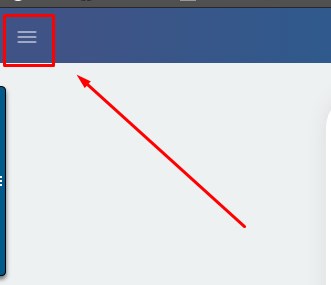
Click the menu icon from the upper left hand corner |
 |
|
|
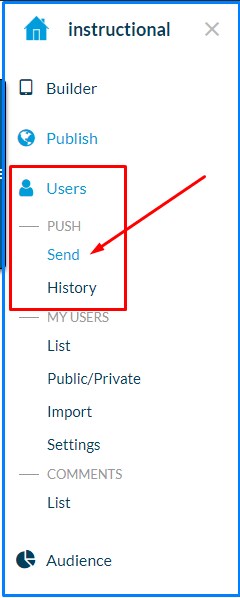
Select "Users" from the menu Select "Send" under the Push field. |
|
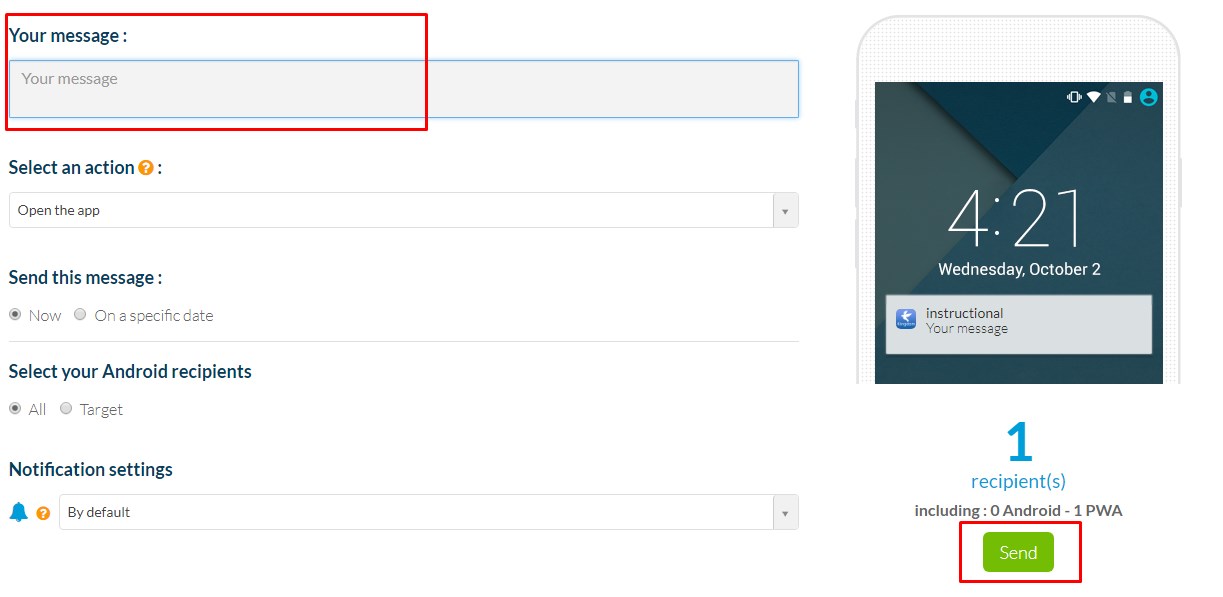
From here, set your push notification specifications as normal. In the YOUR MESSAGE field, retype or paste the information you added to the new article in the previous step. Click SEND in the lower right.
|
|

