
Adding Multiple 2J Photo Galleries
This is a two step process
STEP ONE:
Create the Gallery
Click "Components" and then "2J Photo Gallery"
Click "Open instances manager"
Click the green "New" button in the upper left hand corner
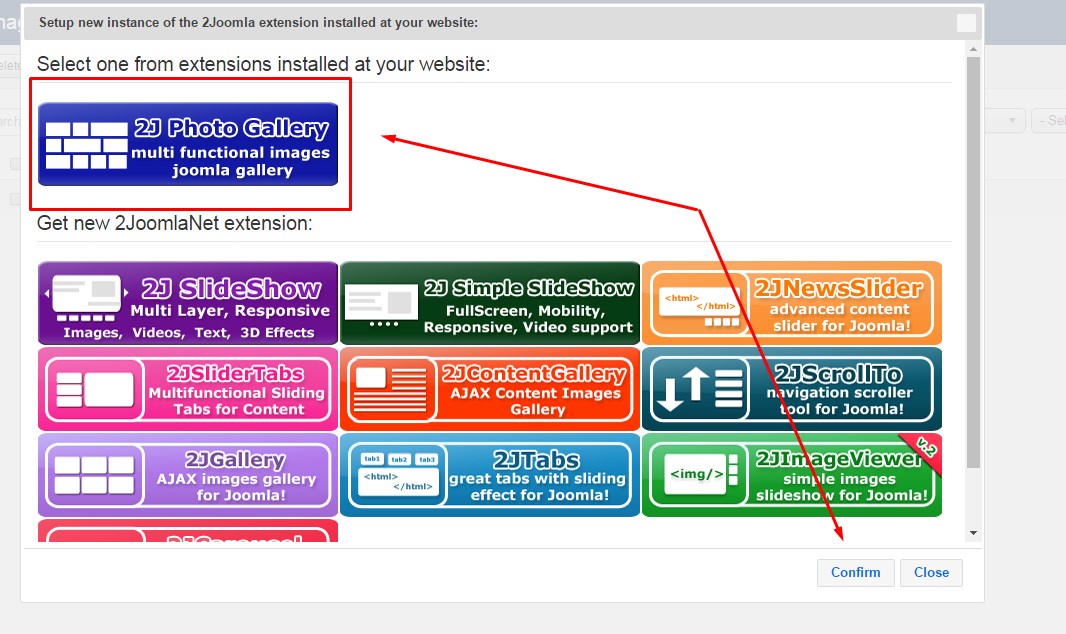
Click the dark blue "2J Photo Gallery" button in the upper left corner of the box that pops up
Click "Confirm"
Add an Instance Title. This is the title of your new photo gallery.
Click "Save & Close"
Now hover over your new gallery title. To add new photos, click the title.
Click the "Upload" tab.
Click "Choose File" or "Browse" under the File column to add your new image file
You have the option to add a file title, and a file description. The description text becomes your photo caption text.
Repeat these steps to add multiple photos to your new gallery.
Once you're finished adding your photos, click the green "Upload" button in the upper left hand corner.
You will then be taken to the "Resources" tab, and see a list of all the files in use in this particular gallery.
Next, place your new gallery as a sub menu item on your main menu Photo Gallery item.
STEP TWO:
Placing Your New Gallery as a Sub-Menu Item
Next, click "Menus" from top menu
Click "Main Menu"
Click green "New" button in upper left corner
Add Menu Title (this is what will display on your menu)
Menu item type: Click blue "Select" button
Click "2J Toolbox" and then select "Plugin Instance"
Set your Plugin Type to "2J Photo Gallery"
Select your Plugin Instance as your new gallery
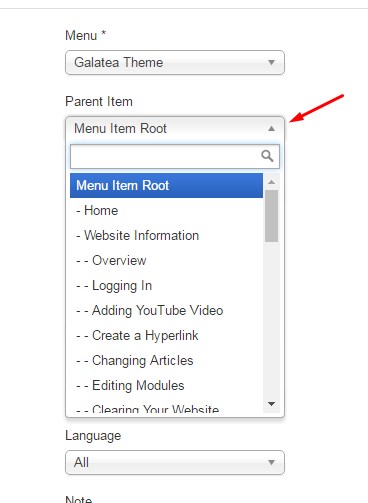
ON THE RIGHT HAND SIDE:
"Parent Item" - select from drop down the space you want your new gallery to display underneath in your main menu. Typically, this will be "Photo Gallery" or "Media."
Click "Save & Close"
Go to your page & refresh, test your new menu item!
Brief video without audio instruction on adding new gallery: