
Adding or Deleting Photos from your 2J Photo Gallery
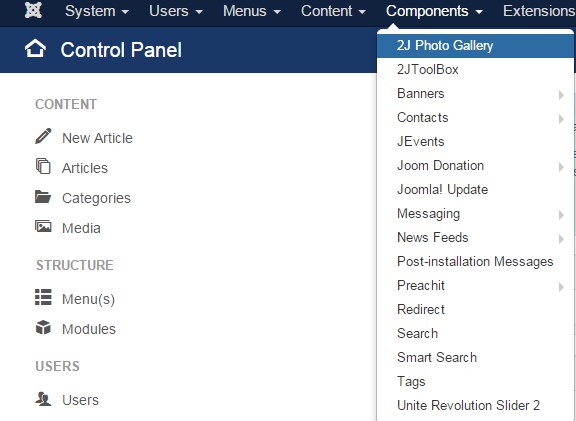
Click on “Components”
Click on “2J Photo Gallery” to open up the “Instance Manager”
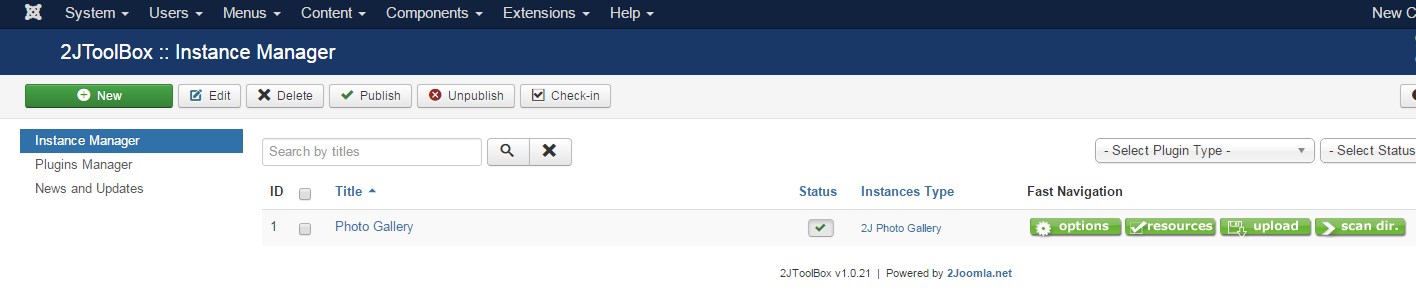
Click "Open Instances Manager for creation/edit instances..."
- Click your photo gallery title. This will open the Instance Settings for your gallery. You can click the "Upload" tab to upload new photos.
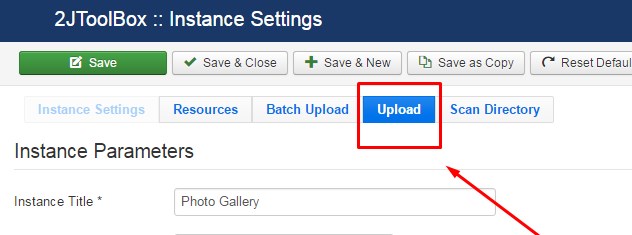
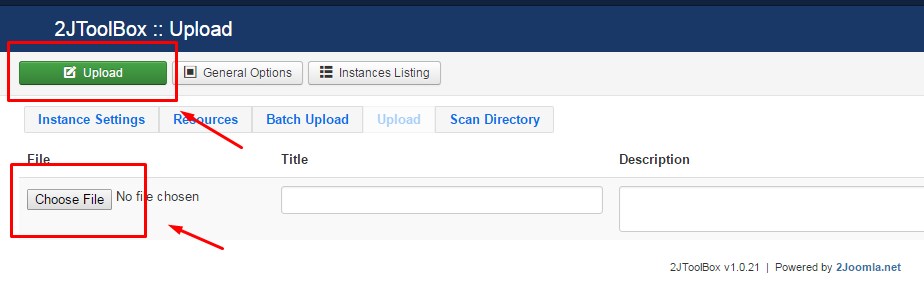
- Once on the "upload" tab, you can choose your image file, title it, and add your description. Once you are finished setting up your images this way, you must click the green "upload" button in the upper left hand corner.
- You can click the "Resources" tab to caption existing photos or delete photos.
You will most often use only the UPLOAD and the RESOURCES tab to add photo titles, captions, and remove photos.
You will have to flush your CDN cache, reload and refresh the front end of your site before you will be able to see the changes.
READ MORE: How can I add multiple photo galleries using 2J ToolBox?